How to use natural light for outdoor portraits
The word photography actually stems from Greek roots that mean “writing with light.” In order to really take control over your photography, you need to understand light and how it works. In my opinion, understanding light is very important to the success of your photography work. In this post I will discuss all the different types of light that I use. 3-2-1-GO!
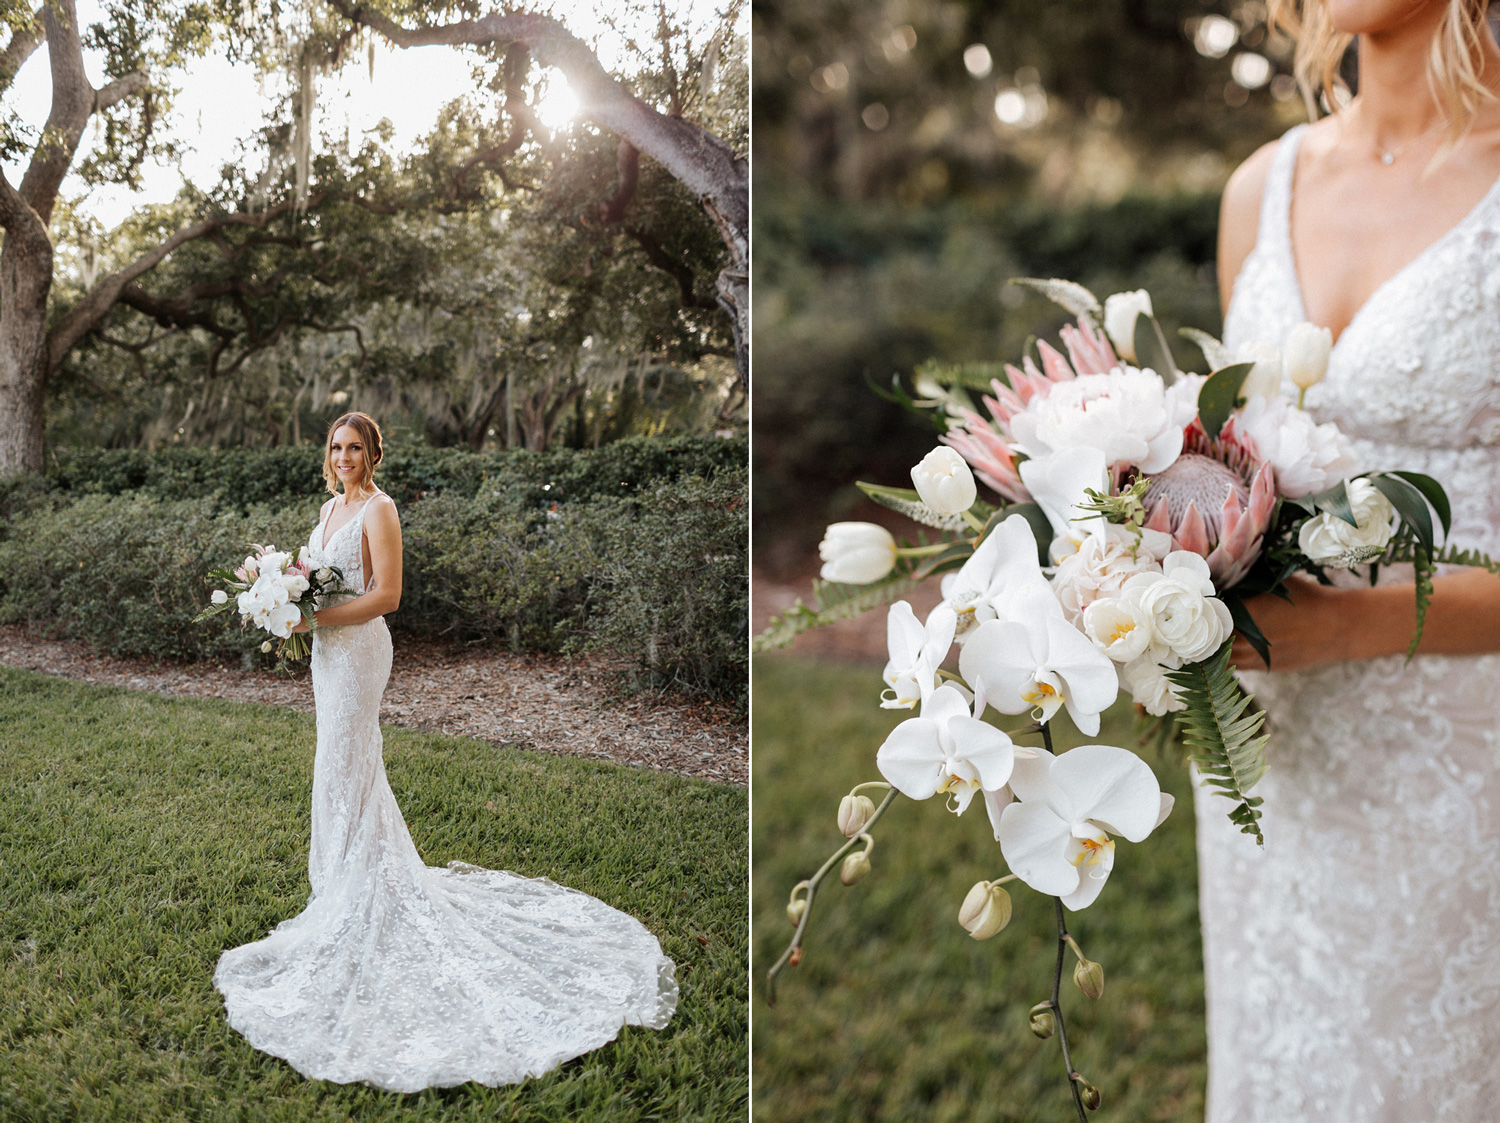
OVERCAST LIGHT
Many beginners (including me, when I first started) think that overcast light is easy to shoot. However, this is a little more complicated than it might look like. Under such conditions, it is difficult to see where the light comes from. After you find the light, it’s important to shoot your subject facing the light. Don’t be afraid to keep turning them around so you can find the best light.
Usually, overcast light creates a flat even light, dark eye circles, and murky skin tones. Shoot from slightly above your subject (if it’s not too bright) to get enough light in their eyes to maybe even catch the beautiful catch-lights.
Another solution I often use is “cave light”. That means I find a place (tree branch, porch …) and I put them right at the edge facing out of it. This way the light will hit their faces from the front instead of the above and create flattering image. You know, when you take a selfie in the car, you always look good.
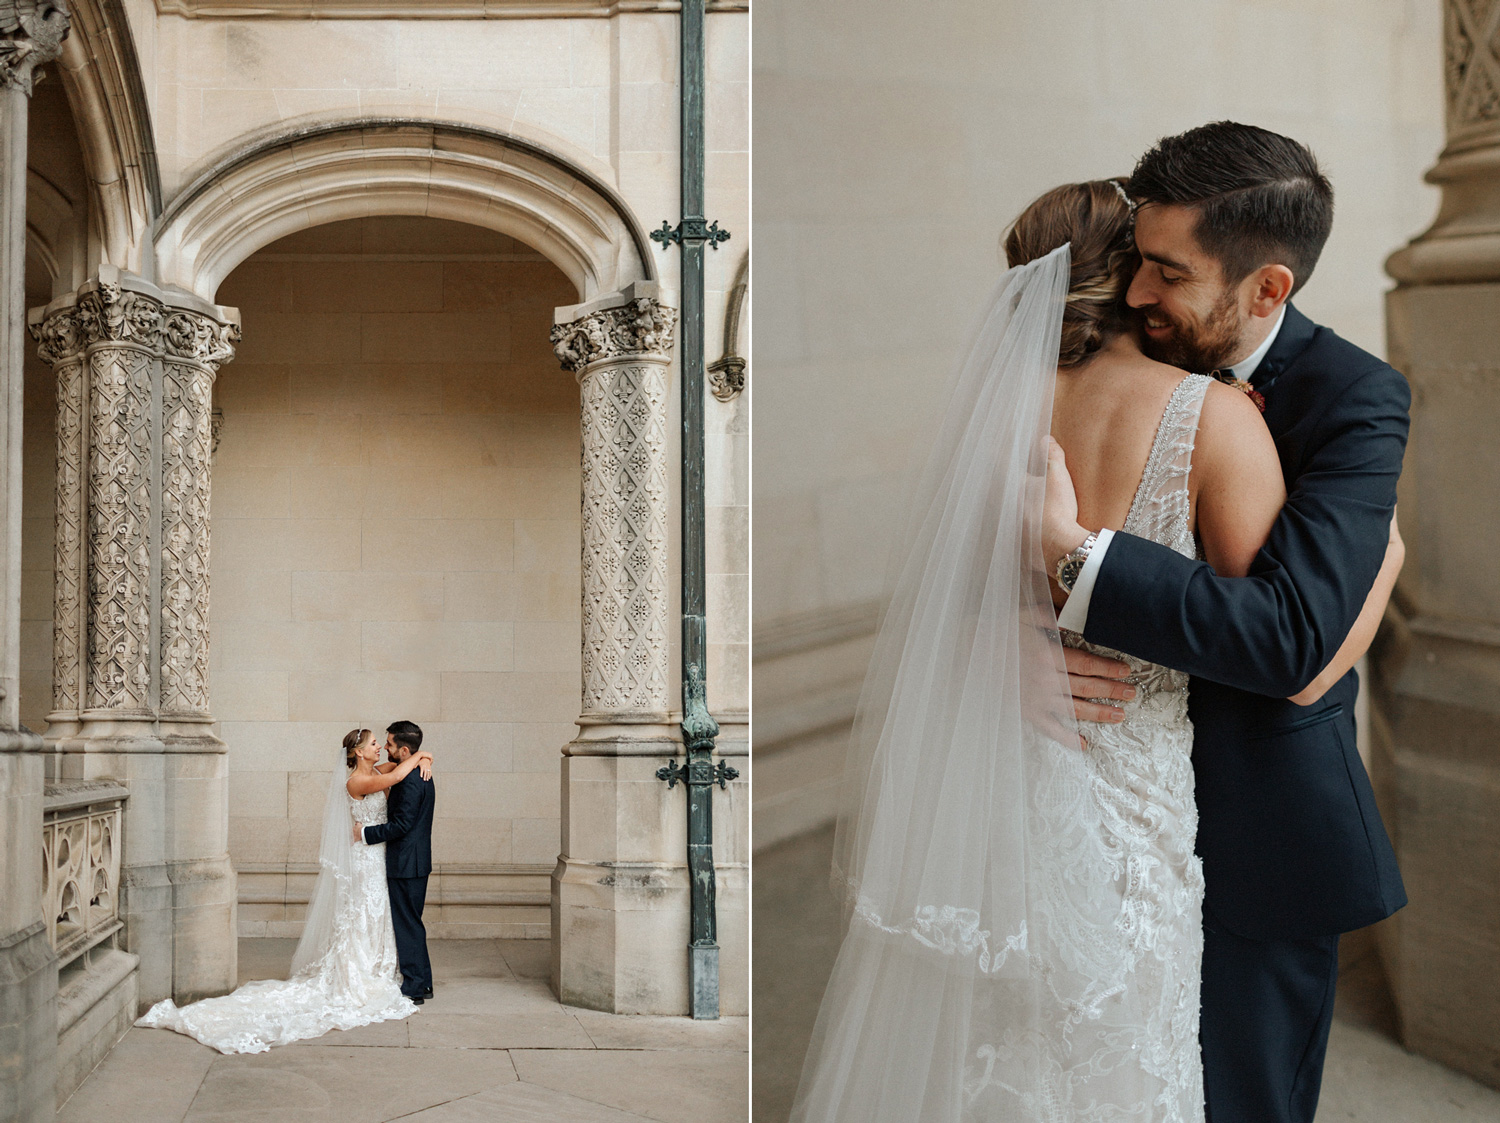
HARD LIGHT
Hard light is a focused, often bright, middle of a sunny day type of light that creates high-contrast shadows.
Photographers use a hard light source to make their subjects appear strong and dramatic.
How to shoot in direct sunlight? Move your subject into the shade, or slightly back light your subject. Also, placing the sun behind tree branches is also a way to enhance hard light photos.
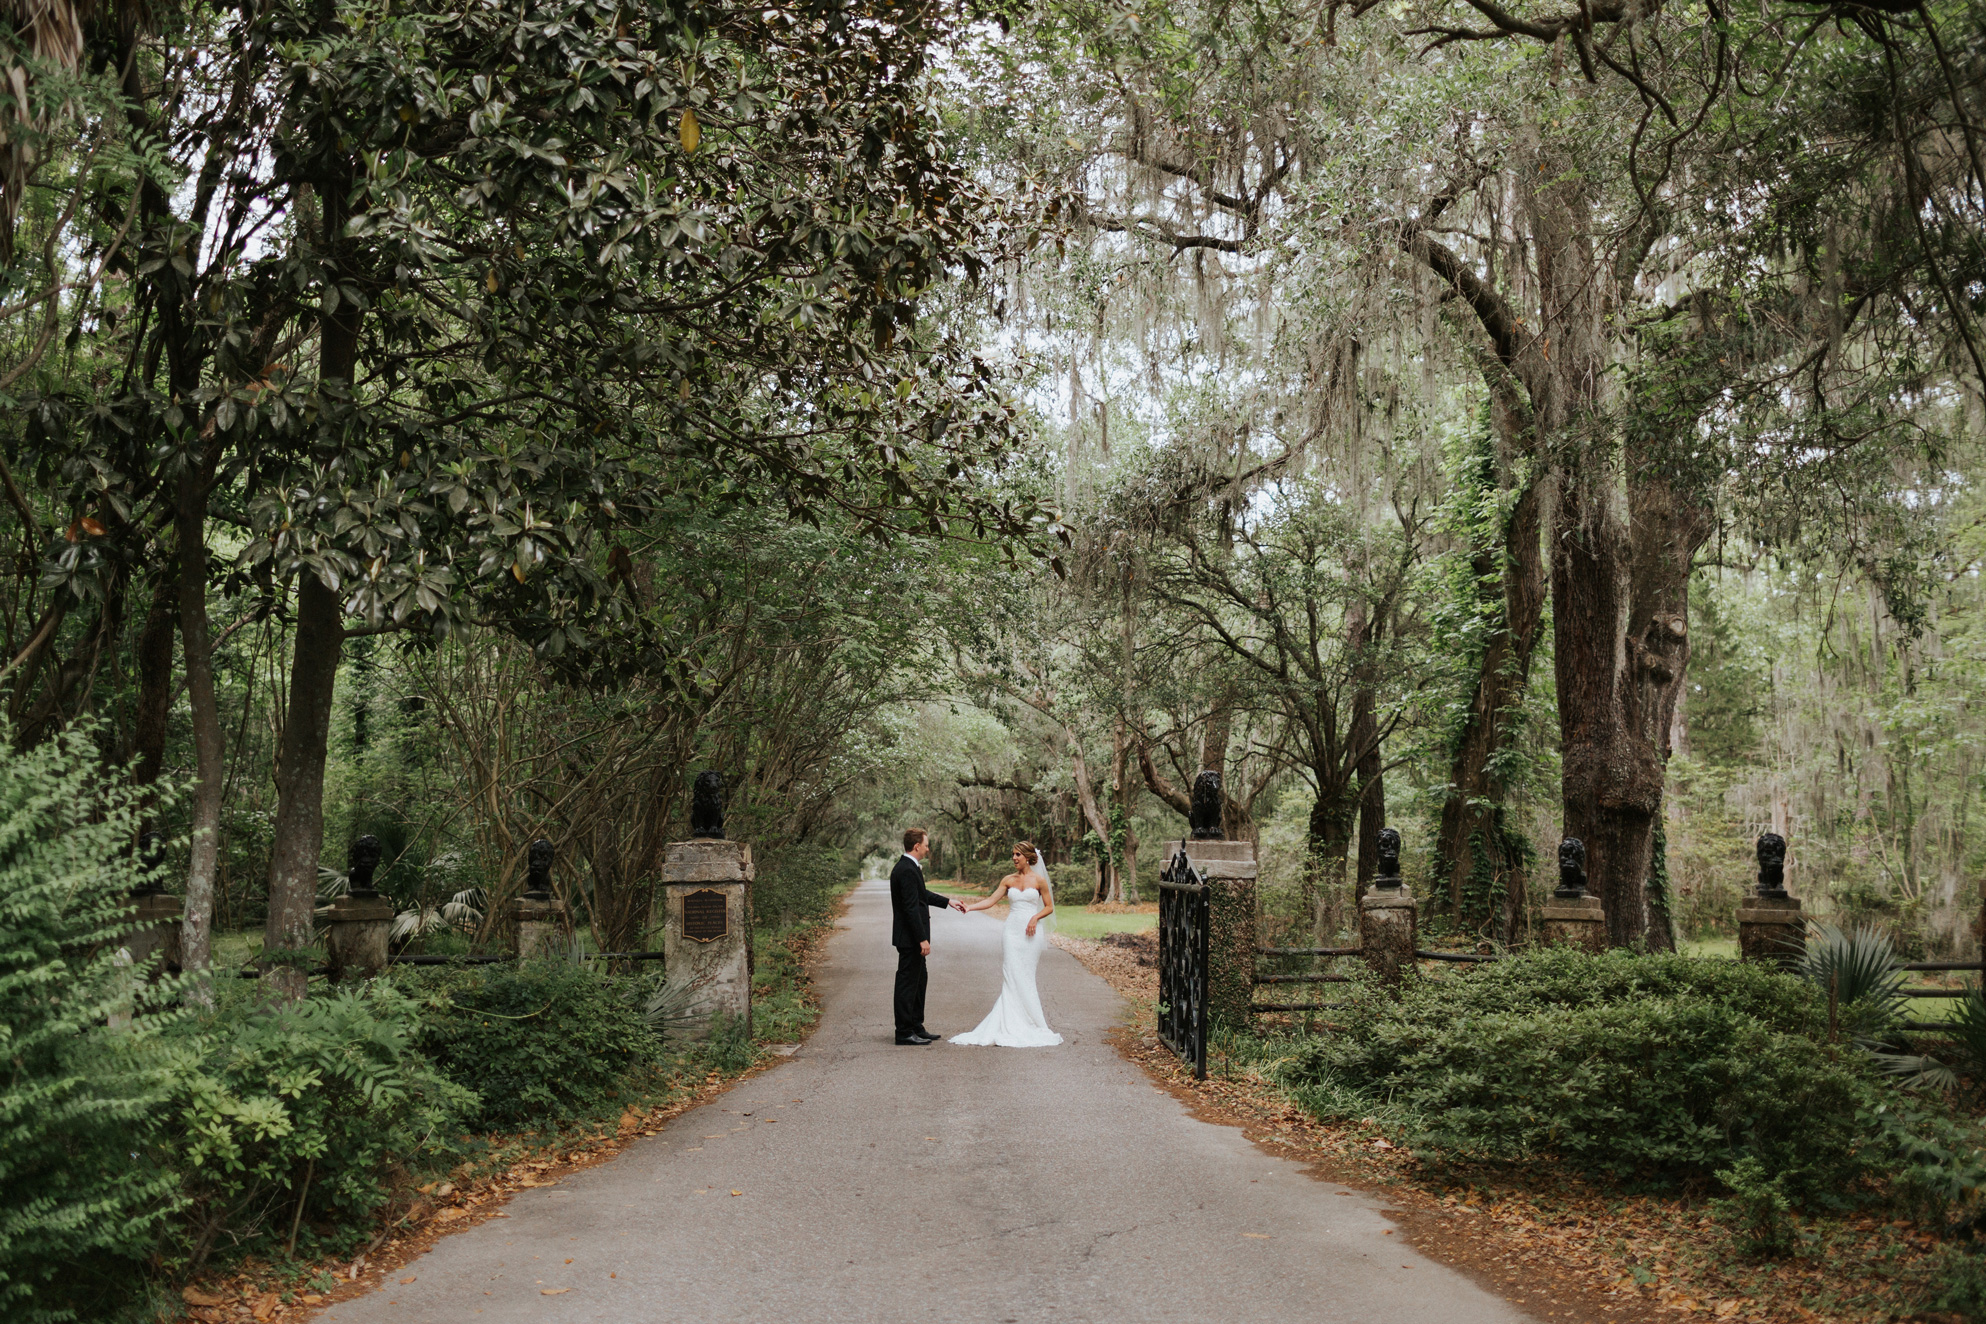
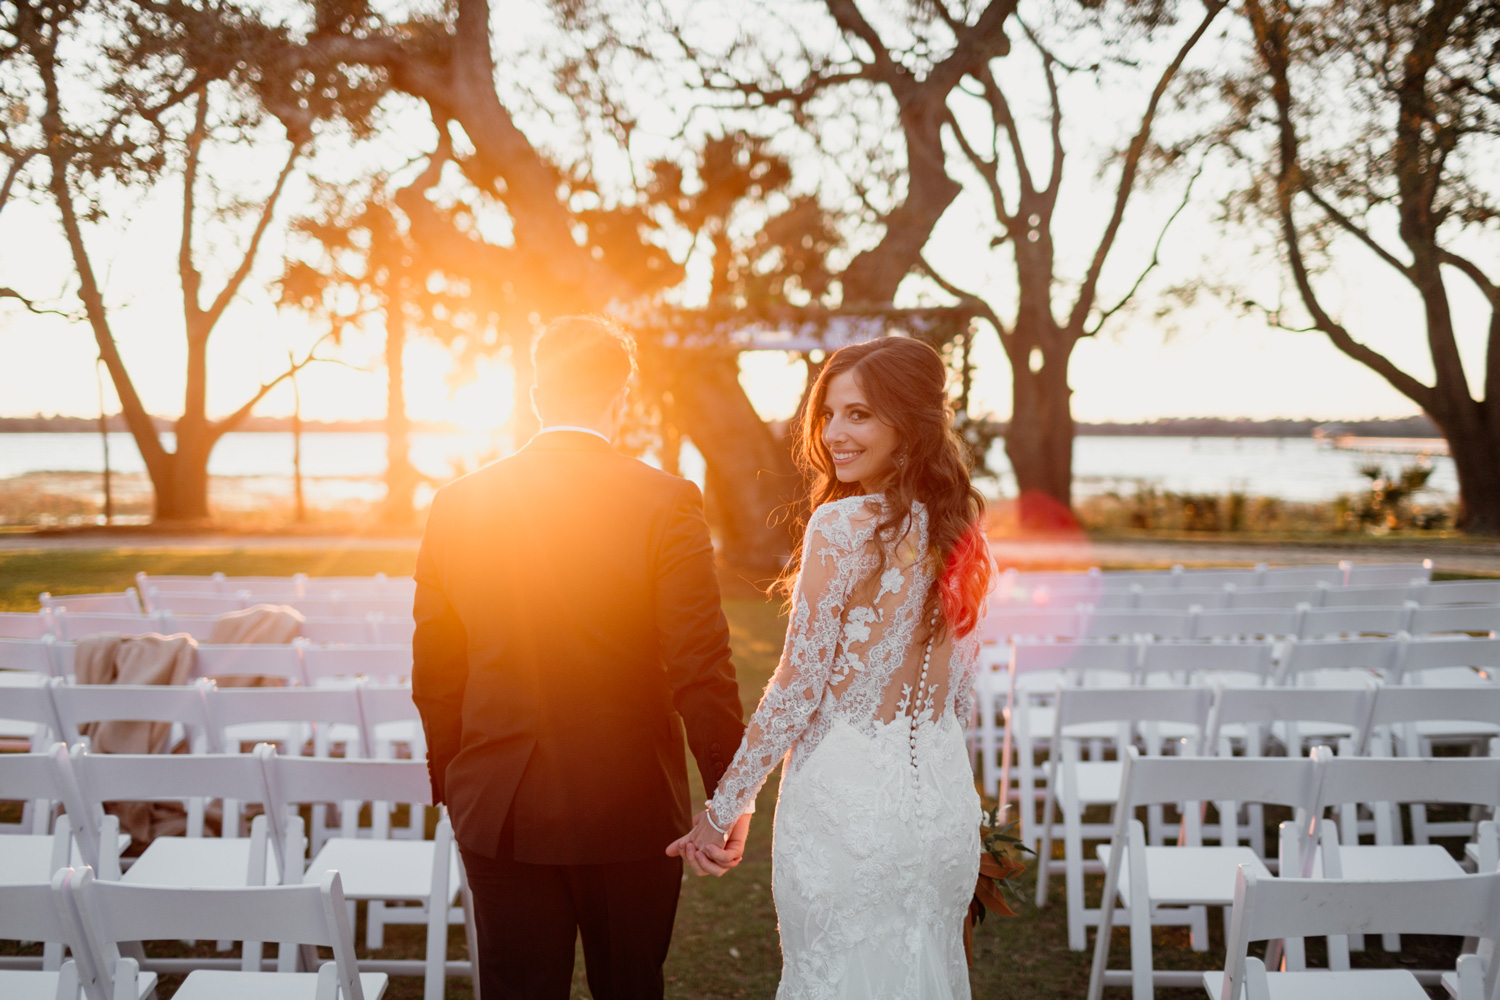
BACKLIGHT
Backlight is light that comes from behind your subject. This is commonly seen in photos from the beloved golden hour, when the sun is low in the horizon.
If you want to create a soft glow in your photos, you have to shoot when the sun is still in the sky, and have the sun hidden just outside of the frame. If you are looking for a more dominant haze, allow the sun to shine directly into your lens. I think that longer lens works the best for this type of light.
It is important to expose for the sky instead of your subject. Backlight photos usually look flat, but it’s easy to fix it. Just bring up the contrast or the black slider in Lightroom.

TWILIGHT
Just after sunset lots of photographers stop shooting. For me, twilight is one of my favorite times of the day to take pictures. Twilight usually occurs 20-25 minutes before the sun rises or right after the sun drops below the horizon. Don’t be afraid of bumping up your ISO and turn your subject towards the light.
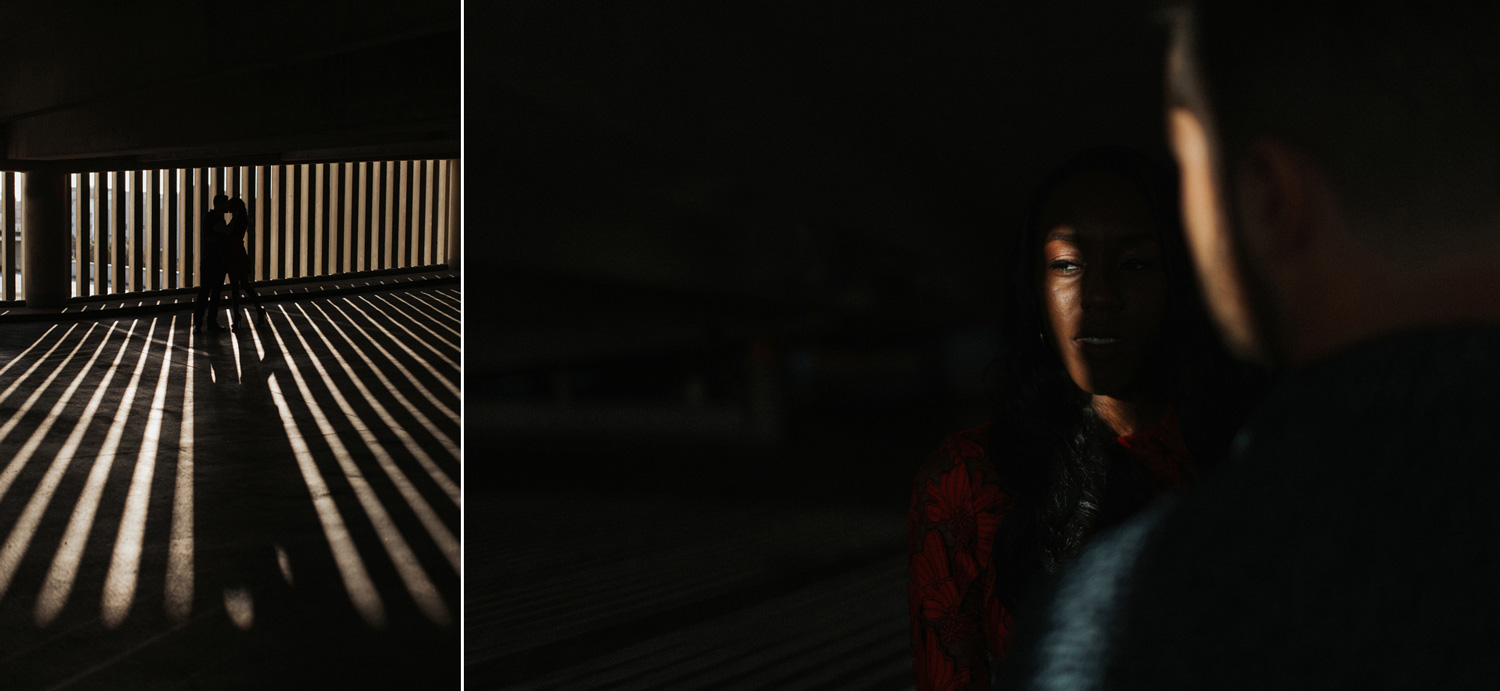
DRAMATIC LIGHT
An image with dramatic lighting typically has light focused on one area of the image and keep other parts of the photo a mystery. Light can be focused on just one small area, or can create a pattern in the image. Experiment and have fun with it!
Thank you very much for your time and reading through my “How to Use Natural Light for Outdoor Portraits” tutorial. I want you become the best and confident in what you do! Questions? Shoot me an email at photography@monikagauthier.com I’ll get back to you!